Photoshop activities
Photoshop toolbox
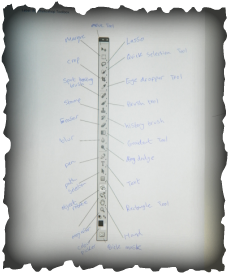
The first thing I did was label the photoshop toolbox. This helped me memorise the tools available and where they were in the box, when using Photoshop i could refer to this when i was unsure how to get the tools name to show.
File formats.
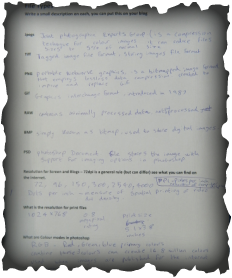
I then Identified a little about what each file format was about. For example I looked at JPEG, GIFF, PSD and JIFF. I now understand that each format has a different bit size that it can hold and the bit size effects the overall outcome of the image after being edited and effects added to animation and film. it also effects the uploads and download speed of a file and usually how fast the image or file downloads depend on what format it is in, if the file is in a PSD format the image will be more clear and crisp to a GIFF format also easier to edit.
Masks and layers.
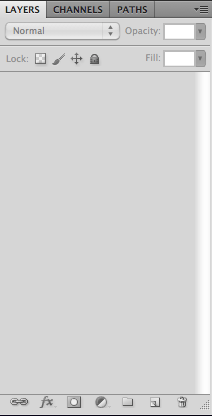
First I went through what the layers box was all about such as the masks and new layer, for example when you open up an image and you want to change to colour of it completely it is easier to create a new layer and then a new mask and change the colour of the mask because you can easily correct the mask where if you do it straight over the image you may have to start over again from scratch.
Saturation and colour.
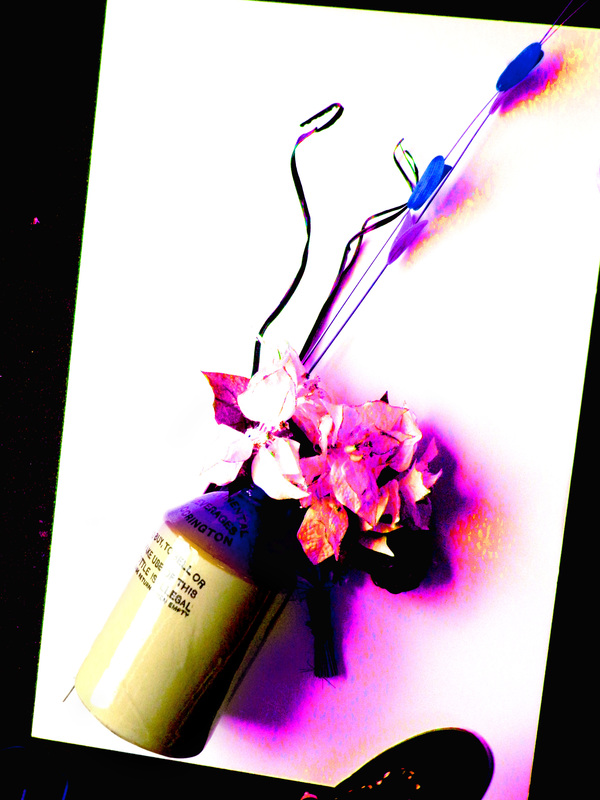
With all of the above taken into account, I created this image using the saturation and colour tools. I increases the saturation and selected the purple colour, this changed the whole image purple and made the image unclear. To avoid this I used a mask and the brush tool to leave to original colour of the jar.
Dodge, Burn, Sponge and Blur.
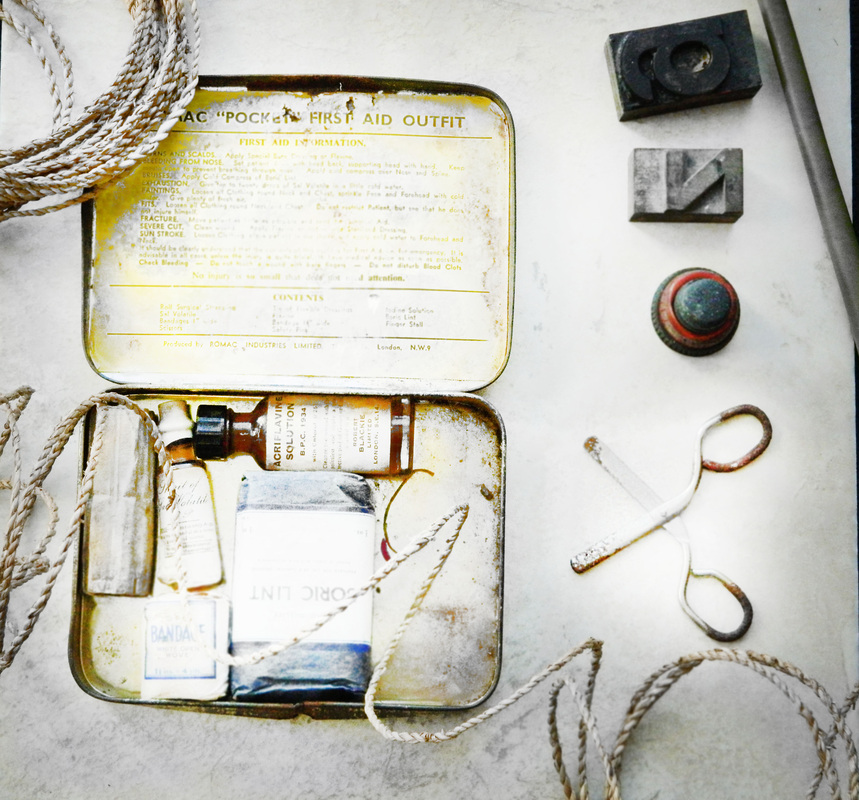
Here we were using the Dodge, Burn, Sponge and Blur, the image I tried to create was a dark and aery feel. First i took desaturated the image then using a mask brought colour back using the brush, I brought colour back where i did not need it so i burnt the images in places. then i used the sponge the take bits of the tins colour away. I used dodge to bring the scissors to life. I blurs the writing in the bottle in the medic tin.
Text, Desaturate and displacement maps.
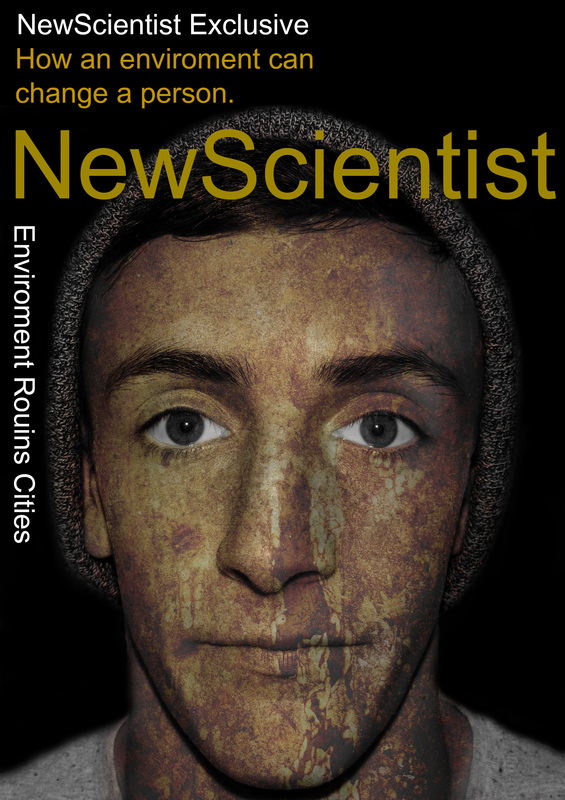
In this image i have used Desaturate, masks, displacement masks and text. The First thing i did was Desaturate the face and altered the levels so it is just right. Then i found a texture that i liked and before i added the texture i added a displacement map and to do this i cropped around the face and neck then took that away and added a displacement map then when the texture goes on your displace the texture and it looks better. after the texture went on i masked around the background and added this black texture and put this behind the the image to give it a magazine look. To add the text all you do is click on the text icon and start typing what you want. to flip the text vertical you click the icon with the two arrows going either way.
Painting with Light.

In this picture i added a photo of my painting with light and used a blending mode. The mode i used was Screen, this blended the black of the light in with the buildings behind.

Then i began to lay the light on the floor. I did this by holding 'cmd' and selecting the light image and dragging it down so it looks layed flat.

I added another image to the picture and used the same blending mode (screen), now it was ready to lay down.

I did the same with this image, i resized the image and holding 'cmd' i layed it down.

I deleted the first light trail that i added and decided that this image suited better. I added a stick man made with light and then i positioned it in the middle of the light trail.
Creating you own brush.

Here to create a Brush you can magic wand the bits you want and then click Define brush presets and then its creates you a brush of what you have selected. Then you can select a colour when you have selected the brush and then see what it looks like.

Advanced Blending mode.

You can double click on the image and then it opens the window on the right (also image below) and then you can alter and play around with the opacity and advanced blending tools, it is important that you hold ALT and split the sliders and then you can specify what you want it to do.

Spot healing, To create a Letter.
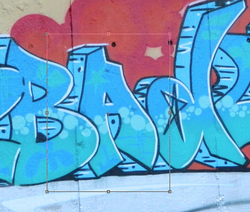
Here what you have to do is click on spot healing brush and then you can click where you want it to blend something over so here i blended in or removed the black line from the B that was in the A. you can alter the size of the brush by using the brackets.
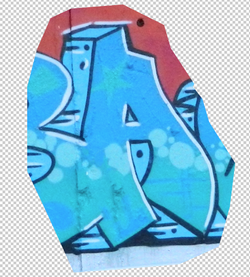
Once you are happy that you have spot healing brush has done the job you wanted it too, you can then add a black line in the A so there is no gap.

To do this you need to select a part of the black line from the original A to add into this one, when you have selected the line you copy and paste it into a new layer then place the line where you want it.
